Work Order Sections
Path: Work Orders > List View
Once a Work Order record has been submitted using the Submit button, the Work Order remains in Edit mode and you can scroll down to other sections at the bottom of the page. The following topics describe how to use these sections.
NOTE: When you edit records, you have the option to Save & Stay or Save & Back. The Save & Stay button allows you to continue editing the record. The Save & Back button returns to the View All window.
-
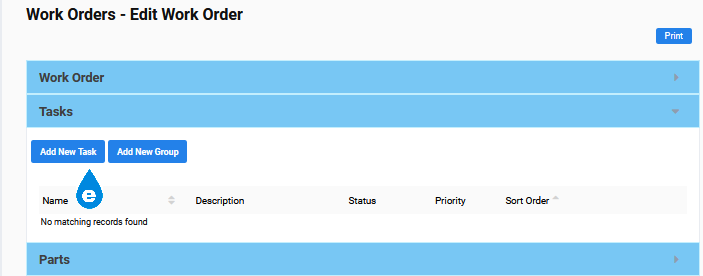
Select the Add New Task button OR Add New Group button. Groups are a pre-defined set of Tasks.

-
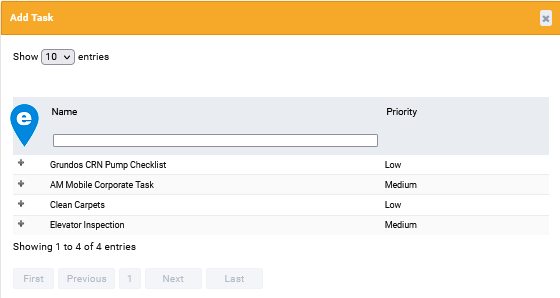
Click the plus sign
 next to your Task choice.
 -
Repeat steps 1-2 until all the necessary tasks are added.
-
(Optional) Select green Edit
 icon to add more detail to a task.
 -
Click the green Save
 icon when finished.
 -
(Optional) Choose Delete
 to remove a Task.
 -
Select either the Save & Stay or Save & Back button.
The green Edit button is available in the Tasks section of a Work Order. It appears at the right of a task line. Click to open a large section where you can add extensive details about the Task.
Be sure to click the related Save button to preserve your changes.
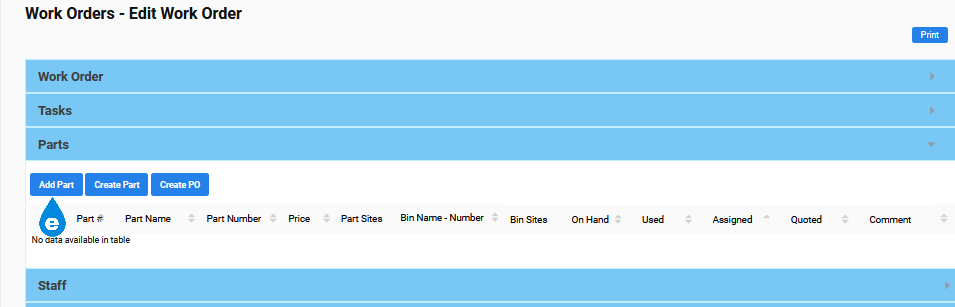
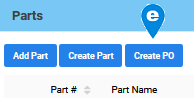
Parts are included in the Inventory module that is limited to Eagle CMMS Professional; therefore, this section is only available to Eagle CMMS Professional users.
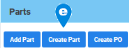
The Parts Section gives you the option to:
-
Add existing Parts
-
Create a new Part and add it to the WO
-
Create a Purchase Order (PO)
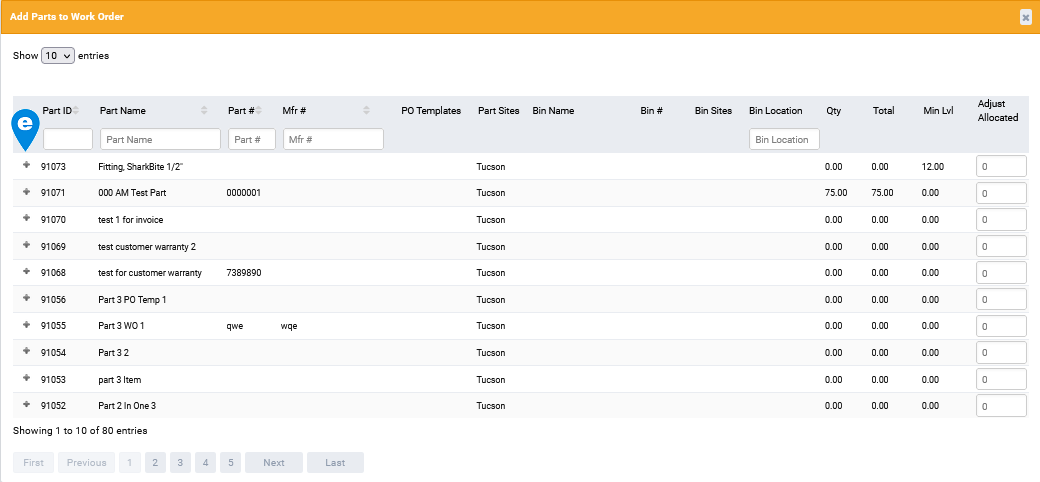
To add an existing Part:
-
Select the Add Part button for existing Parts.
-
Click the plus sign
next to the desired parts.
-
Close the popup.
-
Select either the Save & Stay or Save & Back button.
The parts are automatically added to the Work Order.
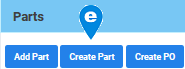
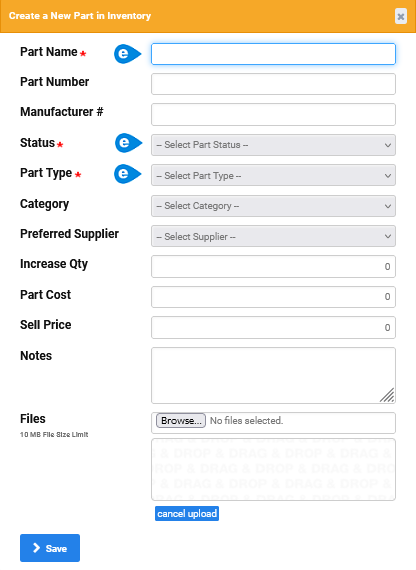
To create a new Part:
-
Select the Create Part button.
-
Complete the pop-up.
-
Select Save.
-
Select either the Save & Stay or Save & Back button.
The new Part is added to Inventory > View All Parts and entered on the Work Order.
To create a Purchase Order for a Part:
-
Check the desired Part(s).


-
Select the Create PO button. See Note below.

-
Select either the Save & Stay or Save & Back button.
NOTE: The Part must have preassigned PO Templates. See the PO View all Templates topic for more information.
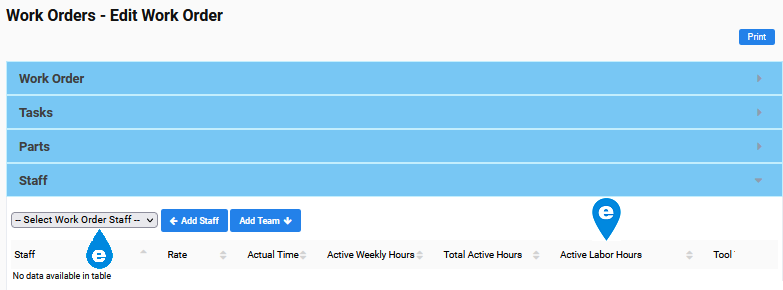
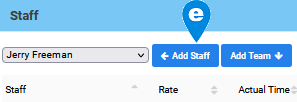
To add Staff to a Work Order:
-
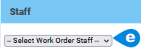
Click in the Select Work Order Staff field.
-
Select the staff member from the drop-down menu.
-
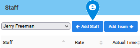
Choose the Add Staff button.
-
Enter hours worked per staff member in the Active Labor Hours field.
-
Select either the Save & Stay or Save & Back button.

Once saved, you can use the Adjust Hours  button to change hours worked by a staff member.
Use the two information  icons to Show Active Weekly Hours or Show Active Labor Hours History.
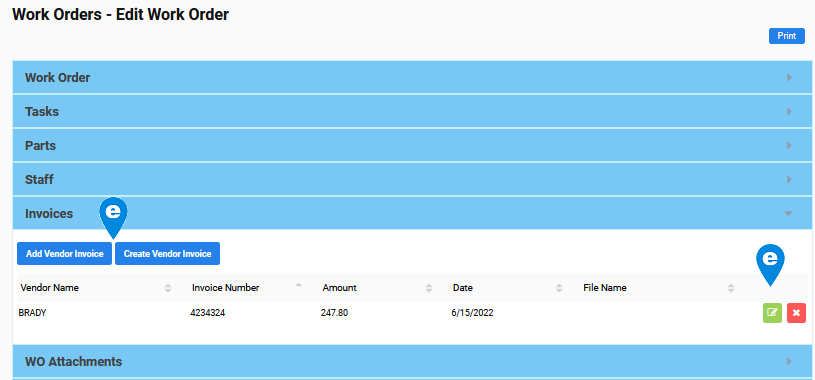
Invoices are included in the Vendors module that is limited to Eagle CMMS Professional; therefore, this section is only available to Eagle CMMS Professional users.
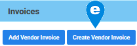
The Section gives you the option to Add or Create a Vendor Invoice associated with the work order.
To include an invoice in your data, follow these steps:
-
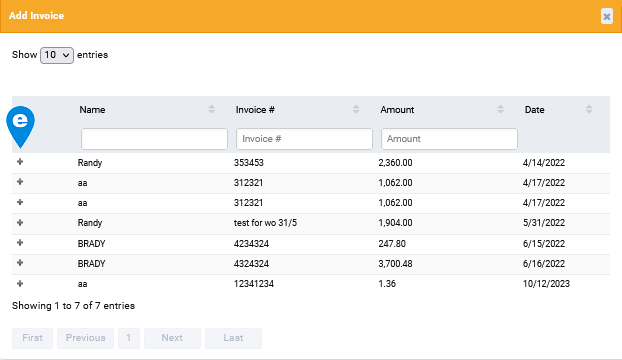
Select the Add Vendor Invoice button.

-
Click the plus sign on the Add Invoice popup for the existing invoice.

-
Close the popup.
-
Choose Save & Back or Save & Stay.

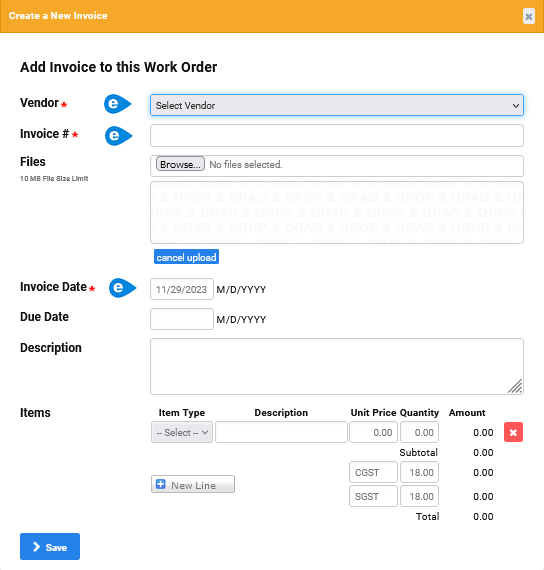
To record an invoice that has not been included in your data:
-
Select the Create Vendor Invoice button.
-
Complete the required fields on the Create a New Invoice popup (Vendor, Invoice #, and Invoice Date).

-
Complete any optional fields desired.
-
Select Save on the popup.
-
Choose Save & Back or Save & Stay.
To edit an invoice in the Work Order:
-
Select the green Edit
button at the right of the invoice. -
Make the desired changes on the Edit an Existing Invoice window. You are no longer viewing the Work Order window. See Note below.
-
Select either the Save & Stay or Save & Back button.
NOTE: Editing an invoice takes you to the View all Invoices module. When you select Save & Back, you are returned to the list of invoices, not to the WO List view.
Files and images are added using the Upload New Files field in the Work Order section. As soon as the Work Order is saved, the files display in this read-only section.
Records associated with the Work Order, such Tasks and Assets, may have Attachments as well. When those records are used with the Work Order, their Attachments display in this section.